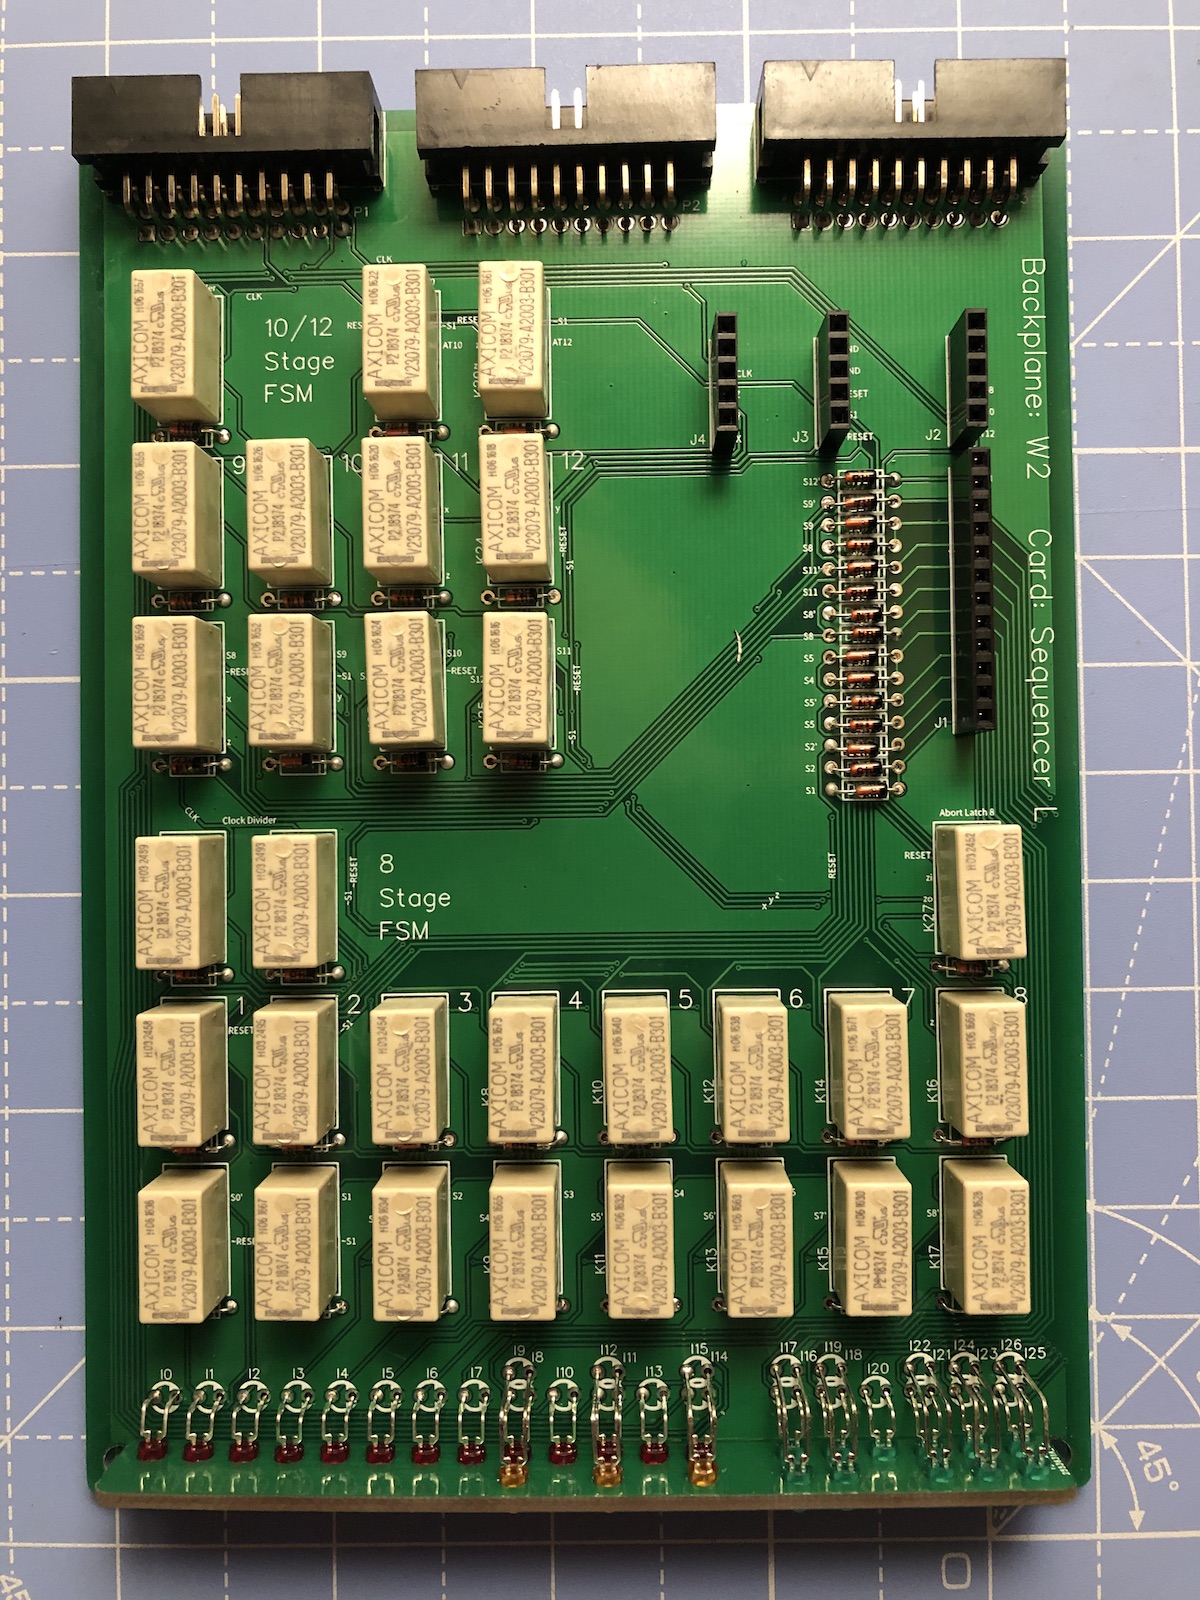
In my last couple of posts I covered off the full design for the sequencer unit. With PCBs now safely arrived in the post I can get on with soldering up the cards and giving them a test.
Let’s start with the lower card and, as before, I’ve put together a video which covers the highlights:
Likewise, here’s a video covering the upper card construction which also includes giving the cards a test together and then testing the whole sequencer unit when placed in the computer:
One thing I didn’t cover in the video is just how much quicker it is constructing these cards compared to the wire wrap method I was using previously.
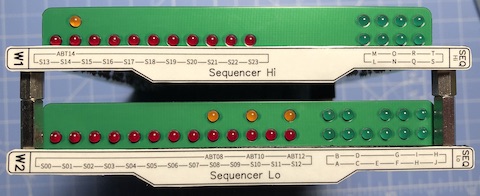
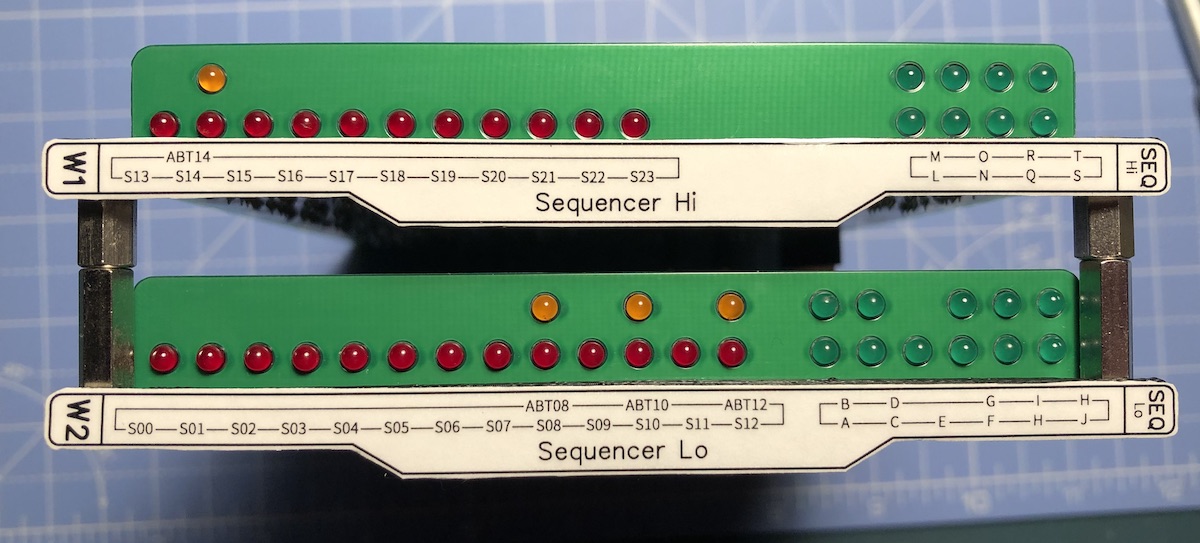
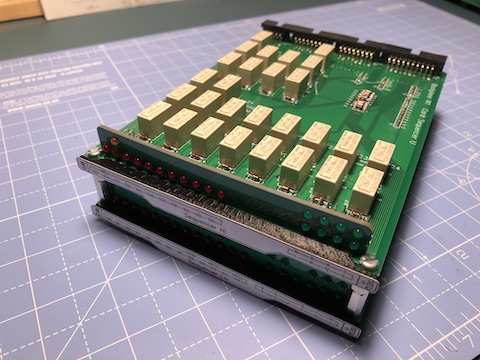
Just to finish off then here’s a couple of pictures of the cards:


So, with the sequencer complete we’re much nearer to getting branching working in the computer via the GOTO instruction. Next task is to update the controller to handle the relay logic for firing the appropriate control lines at the right time. As with the sequencer I’ll replace the existing controller cards with PCBs which technically means I’ll be designing cards that can handle all the possible instruction classes but in this blog we’ll focus on the existing SETAB, MOV8, ALU and GOTO instructions for now and then cover the other instructions later.