Another round of soldering done … this time putting down the power rails on the arithmetic card along with some soldered wire links. This is the last of the soldering for this card - it’s all wire wrapping form hereon in.
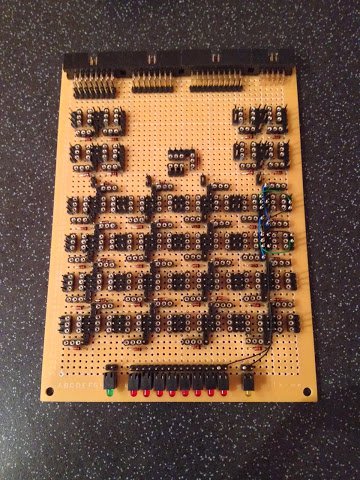
The rear of the card now looks like this:
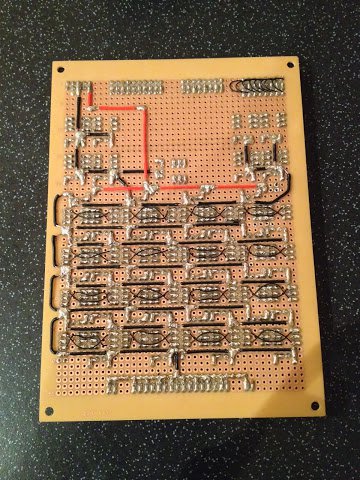
The power rails are very similar to the ones of the logic card completed earlier and they were just as fiddly to complete too … although, that said, I do seem to be developing a bit of a ‘sixth sense’ for how long a wire should be cut without measuring it.
Additional to the power rails are the four soldered wire links on each arithmetic bit (totalling 32 links for the 8 bits in total). These would usually be wire wrapped on the top side of the board but are soldered on this side to free up some space for the other wraps needed.
Speaking of the top side of the board the only real difference from the last post is the additional set of header pins connected to the red power rail that will distribute power via wire wraps to where it’s needed. The top side of the card now looks like this:
So, as mentioned at the top of this post, that’s the last of the soldering for this card … just a load of wire wrap between here and a completed card.