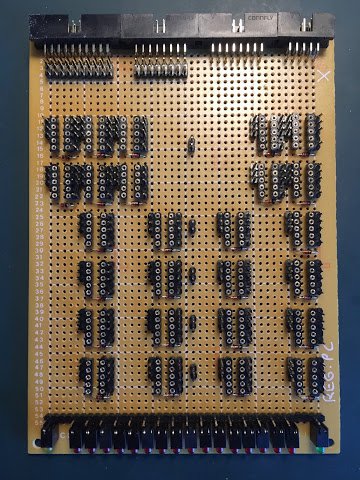
In my last couple of posts I’ve been slightly distracted by some ‘miscellany’ but now I return to form and crack on with constructing the program counter. The program counter is effectively two 8bit registers bolted together and wired out slightly differently using the address bus rather than data bus. As usual I’ll start with soldering down the LEDs:
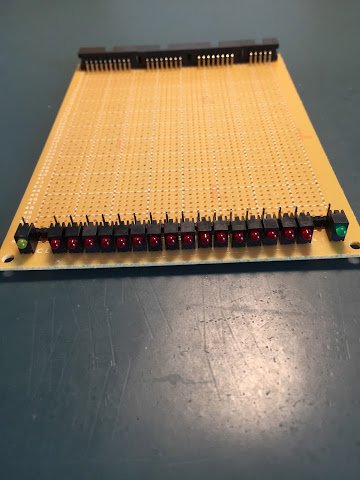
This should all be very familiar now and there’s nothing unusual about these LEDs compared to previous cards. I’m just about at the point now where I’ve ‘perfected’ the way of soldering and wiring these up after many iterations on previous cards. Next up is backplane connectors and relay sockets:
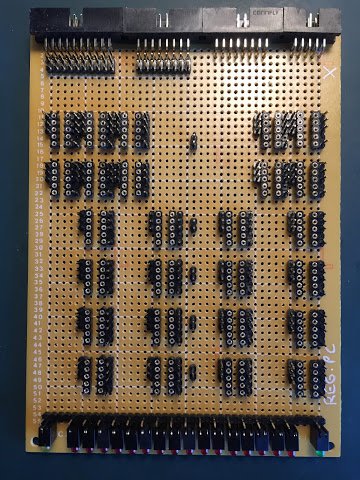
Again, all very similar to previous cards. To be frank though I’m starting to find fitting the individual relay sockets a bit tedious which means it’s time to rethink how I approach this. On the upcoming memory card I’ll be tackling these in a slightly different way which will make construction a bit quicker - I’ll save that for next time though. Next up is the relay coil diodes:
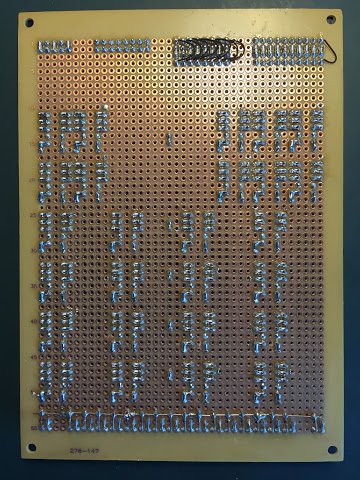
As with the relay sockets I’ve got something up my sleeve for the diodes which I’ll try out on the upcoming memory card. Next job is the power rails:
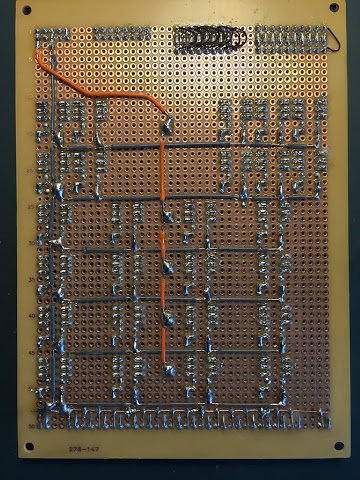
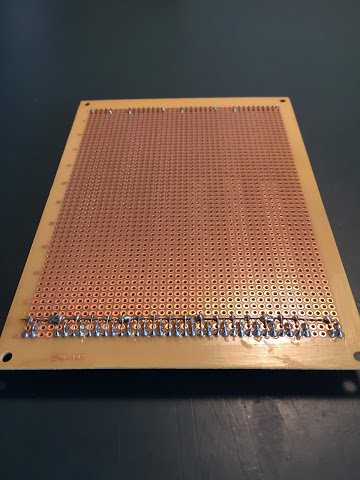
This is another area where I’m increasingly getting ‘a bit bored’ and so on the next card I’ll do away with the individual ground wires and just solder down a continuous bare wire for the ground rails just as I do for the LEDs. This’ll save cutting and trimming individual wires which is fiddly and time consuming. The power (+12V) rail will need to keep on using insulated wire as it’ll often cross the path of ground rails and other components. Flipping the card back over the next job is the wire wrap:
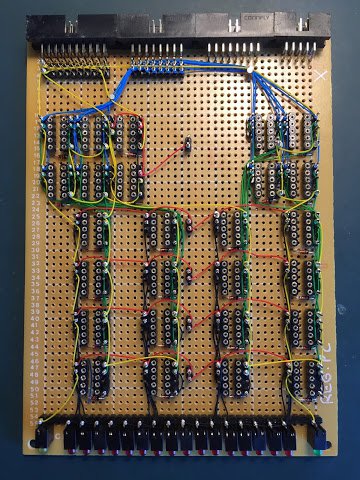
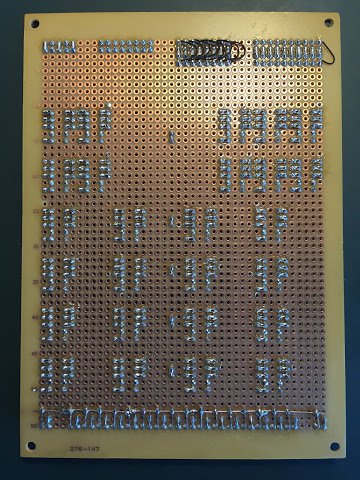
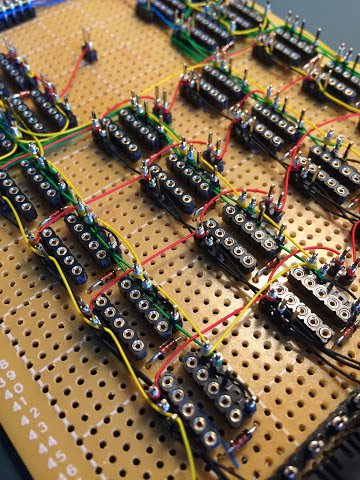
The wire wrap is, again, pretty similar to the other completed registers. I always find the wire wrap on sparsely populated cards such as this less aesthetically pleasing for some reason - it just seems ‘straggly’. Fortunately on the upcoming upper memory card there’s tons of wire wrap on a tightly packed card so that should look a bit nicer IMHO. Anyhoo, here’s a close up of the straggly wiring:
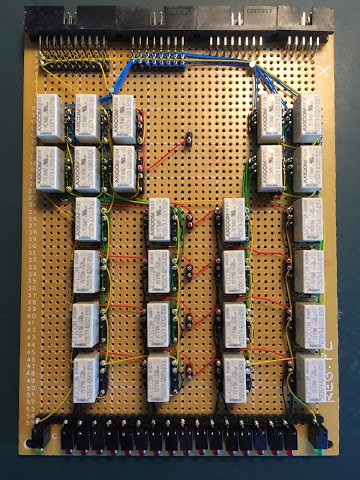
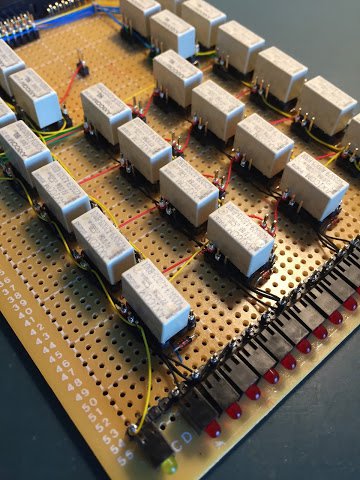
Final job is to pop in the relays and then that’s that for the program counter construction:
You might have picked up from the tone of my writing that I’m not a fan of constructing registers. It’s not the register’s fault - it’s just that the computer has so many of them and they’re all pretty much identical. With the program counter done there’ll still be the incrementer register and then registers J, M and XY to complete. I’m going to try and find ways of constructing these more efficiently and also try and space them out so I don’t have to do them all at once. Oh well, no one forced me to make a computer out of relays.
As always I’ve created a video which gives an overview of the card and shows it working in isolation of the computer as well as when plugged in to the computer.
Next up will be the memory card construction which is far more interesting than boring old registers. More interesting and more complicated … so much so in fact that the construction will be split over two posts as there’ll be lots to talk about.