So yea, it’s been a while since my last post … in fact it’s been just over six months. For some reason I decided I didn’t have enough to do in the evenings so had a crack at becoming an actuary. Needless to say I’ve been busy studying for my entry exams and so the computer took a back seat for a while. Exams are done for now though so the computer is back on and I’m back constructing to get the MOV8, ALU and SETAB instructions running.
Following on from the sequencer cards in my last post it’s now the turn of the control cards. These take the sequenced pulses and operate the various control lines of the computer at the appropriate time to perform the active instruction. As with the sequencer the controller is spread over two cards so it can access the full set of busses needed and to make room for all the relays that’ll eventually be squeezed in to operate the full range of instructions.
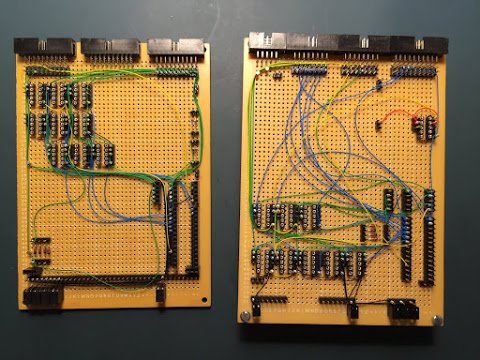
I’m going to skip the usual pictures of the cards being built up over time as all the techniques I use have been covered in previous posts and shouldn’t come as any surprise for my regular readers. So, the cards without relays look like this:
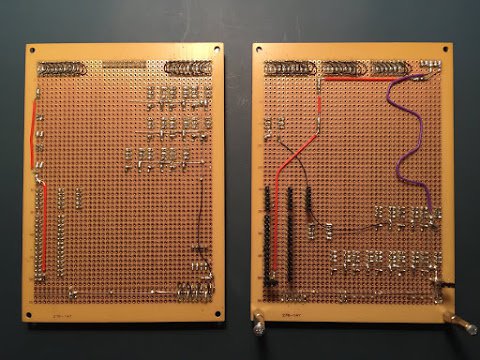
… and from the back they look like this …
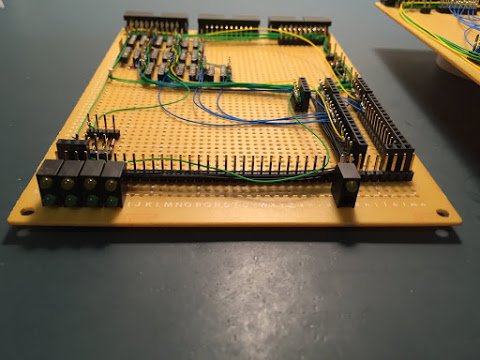
… and with relays like this …
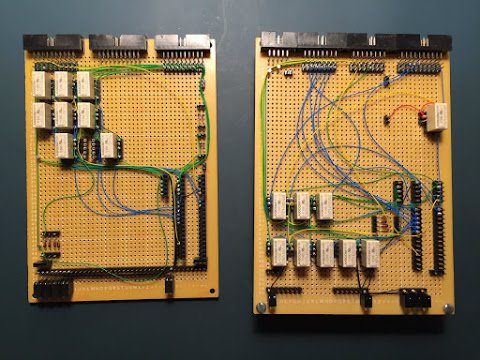
The left hand card above handles the MOV-8 instruction in the top left cluster of relays and the right hand card handles the ALU instruction on the lower row of relays and finally the SETAB instruction is handled on the row of 3 relays above. Finally on this card at the top right is a singe relay which handles the signal which tells each instruction relay cluster to issue its abort signal to the sequencer. As all of these instructions are 8-cycle they’ll issue the Abort-8 signal to make the sequencer reset at stage 8.
There’s quite a lot of longer/looser wire wraps on these cards and this is where further sockets and relays will be added later on for future instructions. The slack in these lines will allow me to cut in and/or reroute the lines as necessary.
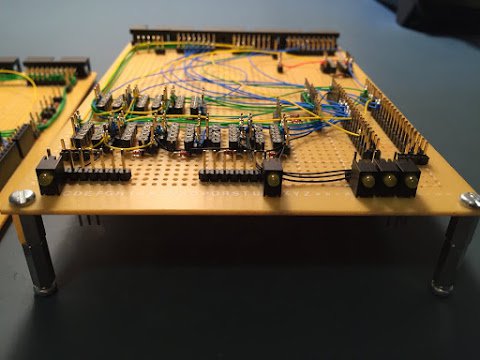
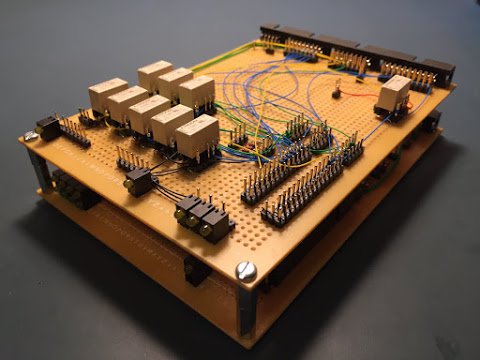
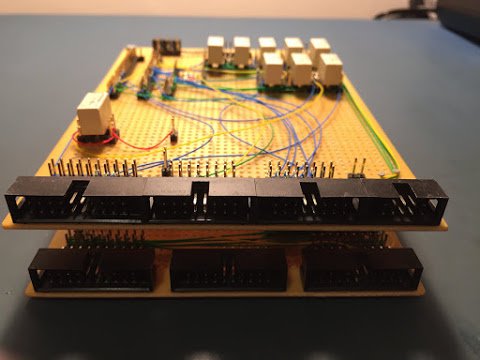
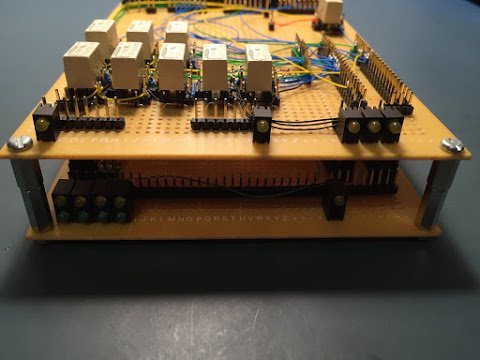
Finally picture wise here’s the two cards stacked together from different angles:
As always I’ve put a video together that demonstrates the controller in operation along with the sequencer. In this video I give a quick overview of the cards and then demonstrate running through the three instructions MOV-8, ALU and SETAB.
That’s it for now on the controller … when combined with the sequencer it’s operating the required control lines to run the first three instructions. With these in place the computer will be able to perform copying values between registers, loading values from the opcode and performing ALU operations. The last thing to do now is to update the computer UI cards and to add a backplane for the sequencer, controller and decoder cards. Once those are done it should be possible to demonstrate running complete single instructions by hand cranking the clock.