I’ve been looking forward to this moment for nearly a month … the laser cut parts I ordered to move my enclosure construction forward have finally arrived.
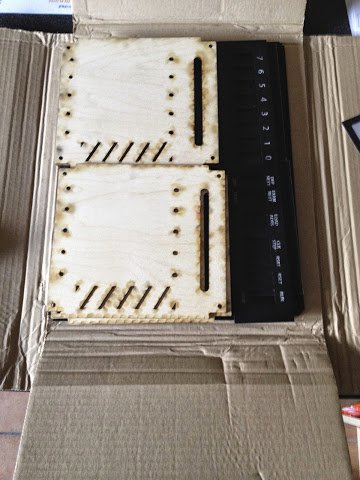
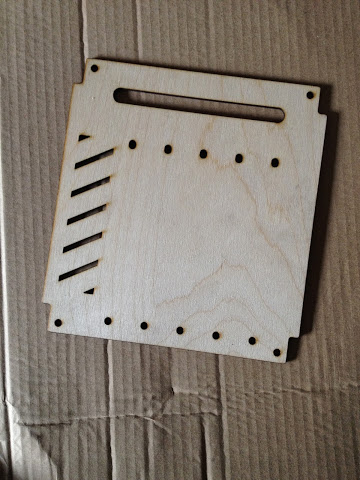
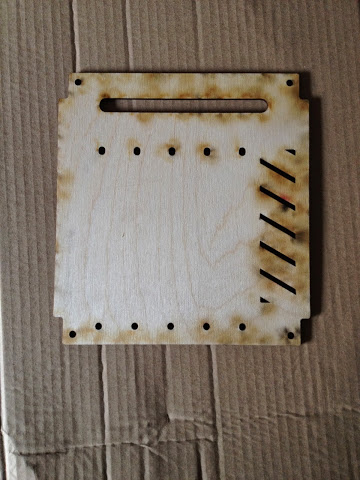
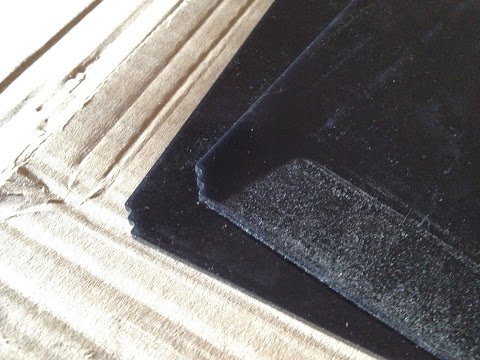
The picture on the left is viewing the part from the top side and the one on the right from the underside. The part was cut with the top side facing up and so the bottom side has picked up plenty of burn marks which is reasonably inevitable when cutting plywood with a laser. The odd hexagon shaped burns on the underside come from, I think, the cutting bed which has a lattice structure with this shape. All of these burn marks can be carefully sanded away but I actually quite like them … a mark of its provenance if you like.
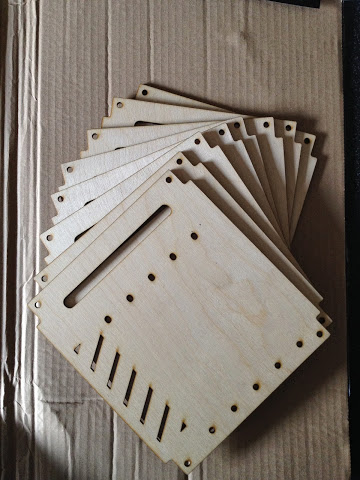
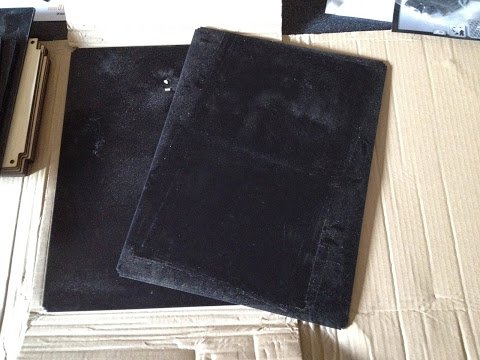
There’s eight of the card bay floor/ceiling parts so stacked in a pile and fanned out they look like this:
That’s it for the plywood parts … everything else is made of acrylic. First up on the plastic parts are these:
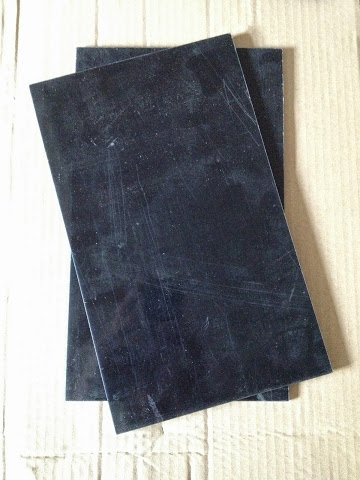
On the left are the panels that fit in the sides of the lower enclosure and on the right are their equivalents for what will become the upper enclosure. As mentioned in my last ’enclosure post’ the upper enclosure isn’t fully designed yet but I had spare space on the laser cut files so it seemed reasonable to take a chance that the design won’t change in height at least. Both of these parts are made of smoked acrylic so have a certain degree of transparency which doesn’t show up all that well on the photos above. These parts are both fairly simple cuts although one thing that might not be immediately visible is that each of the corners is ever so slightly rounded off (to a few mm) to avoid any bumps or knocks starting a stress fracture (acrylic can hold high stresses around cut lines especially on sharp turns).
In addition to the side panels above there are two similar parts which fit the front and back doors of the lower enclosure:
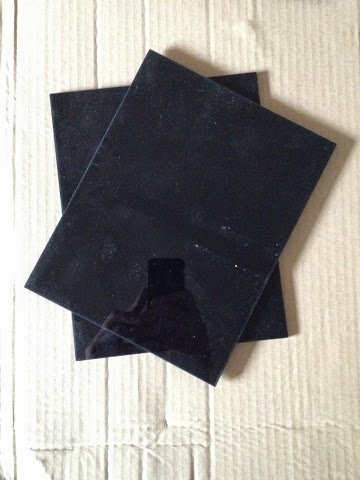
As you can no doubt see in this photo all the acrylic parts are covered in a lot of dust which has also come from the laser cutting process. One side of the acrylic has a protective film but the other side doesn’t so I have to be quite careful when cleaning them as acrylic is quite susceptible to scratching (in addition to sharing a certain fragility similar to glass). I’ve ordered some special acrylic cleaning fluid to help me buff out any hairline scratches as you should never use normal cleaning products (and certainly not window cleaner unless you want the whole panel to permanently fog up).
The door panels have some special detailing on the corners that allow them to fit around the brackets that hold the door together. Close up they look like this:
Finally I’ve got my ‘special’ panel which will be used on the upper enclosure to house the main input switches:
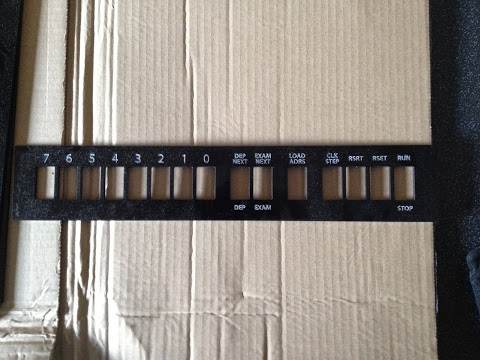
This is probably the most exciting part for me and it put a big smile on my face as I saw it for the first time (even though it’s from the upper enclosure with its unfinished/unstable design so might end up getting thrown away). I know it’s probably not all that fashionable to be excited by laser cut parts but there’s a certain something about the finish and feel of something that’s been cut by a laser. That said, there is a slight problem … in the same way the plywood parts pick up burn marks from the laser on their underside the same is true for engraving on acrylic parts on the top side (although they get more of a ‘smudgy mark’). Here’s a close up of the switch panel:
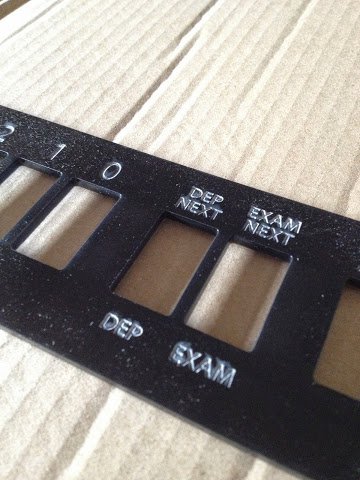
You might have to click the picture above and take a look at the larger version to see the smudge marks more clearly but it has the effect of making the text a bit hazy. This should be no problem to clean up with careful use of the acrylic cleaner I’ve ordered … I may even chose to infill the lettering if it still looks a bit rough afterwards. Fortunately I’ve got some acrylic I ordered quite a while back which was a test piece and features some similar engraved lettering which means I can test any cleaning/infilling on a throw away piece before doing it for real on the part above.
Right, I’m going to stop there for now. Believe it or not it actually take ages to write these posts and get all the pictures together (well, it takes me ages at least) and it’s sunny outside (a relative treat in the UK) so I’m going out to enjoy it. I’ve already fitted all the lower enclosure parts (in a fit of excitement in a single evening) but I’ll cover how that all went in my next post.