I couldn’t resist it any longer … I’ve ordered the laser cut parts for the case doors, sides and bay floor/ceilings. I did say I’d wait for my chosen laser cut website to put out a free delivery offer but I ended up crumbling under the weight of my own impatience. Needless to say within 24 hours of placing my order they announced a free delivery offer for the end of April … c’est la vie and all that jazz.
Oh, and I hope you like pictures because this post is a bit of an image-fest.
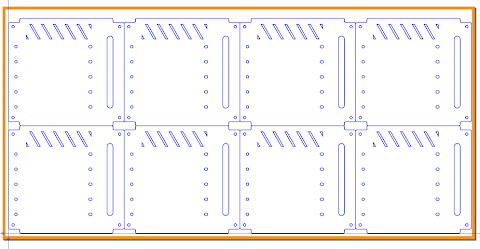
I covered the design of the floor and ceiling panels in my recent post but for the hard of searching here’s the cut file for these panels (with cut lines beefed up so you can see them better — the original file has the lines set to 0.01mm):
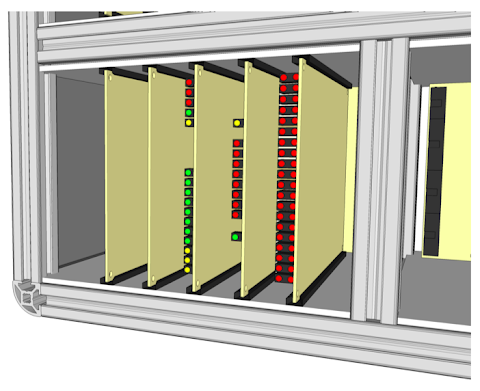
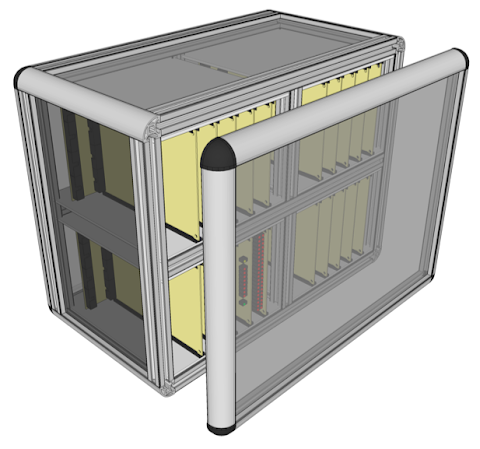
As you can probably see, there’s eight identical panels which form the four sets of ceilings and floors that fit in to each of the card bays. Here’s a SketchUp rendering again of how one of those bays will end up looking:
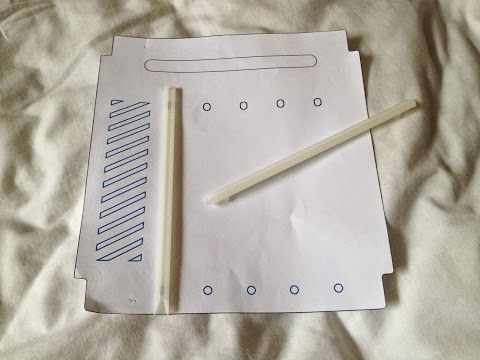
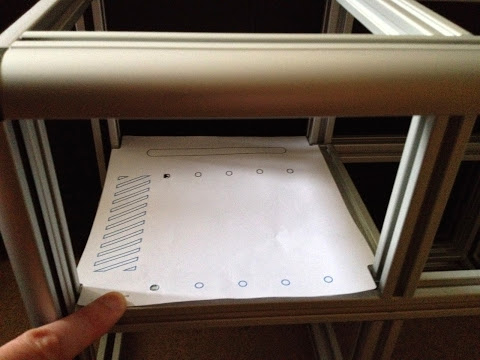
I’ve chosen to cut these out of 3mm laser grade plywood as the material is reasonably priced and has good strength. Before I ordered the cut I printed out a paper version first (always recommended when doing laser cutting) and set at it with the scissors to check everything was OK:
… and this is the same sat in the enclosure as it currently stands:
I should probably mention, for those of you who fancy lasering up some wood, I’m using RazorLab for all my cutting. I believe they’re the UK agent for Ponoko - or at least I’m pretty sure they’re white labelling the Ponoko software. The whole process is fairly straightforward given the technical nature of laser cutting and prices seem relatively reasonable … well, until you add delivery and the 20% UK sales tax / VAT on top of the final price of course. RazorLab have a good section on their website showing samples of cuts and etching on their available materials … this is the 3mm plywood I’m using for the above. Each material comes in three sizes P1, P2 and P3, the largest, which is 790x384 mm (31.1x15.1 in) and it’s the P3 size I’m using for the above.
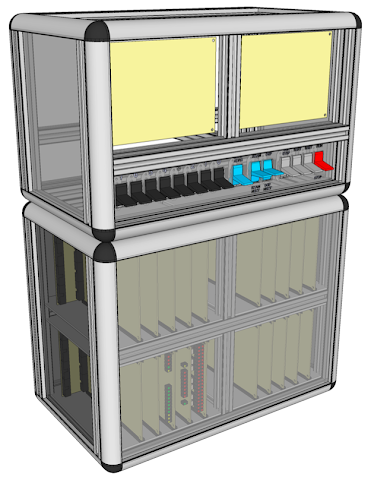
Now, what’s better than lasering one sheet of material? Lasering up three sheets of course. In addition to the floors and ceilings I also need to put in some sides to the enclosure and also add panels to the front and back door. These are going be made from smoked acrylic/Perspex so you’ll be able to see the LEDs flashing away inside when the doors are closed. This is the look I’m aiming for:
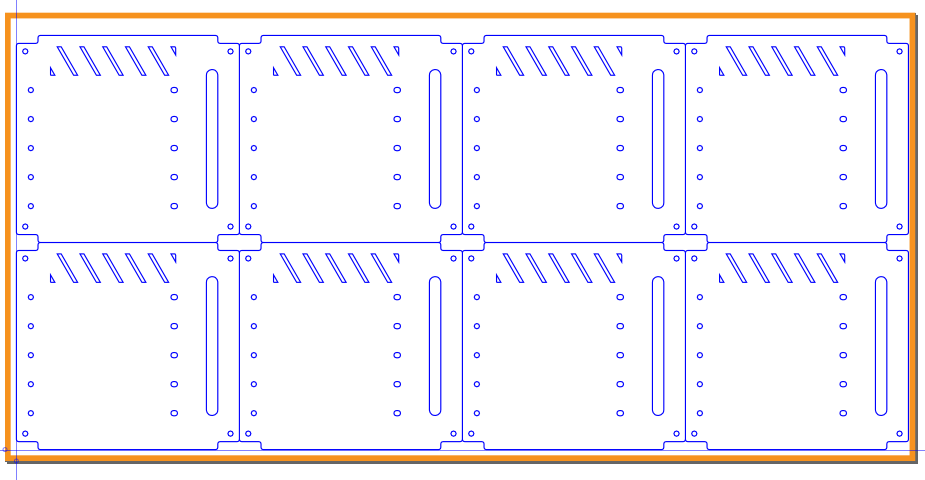
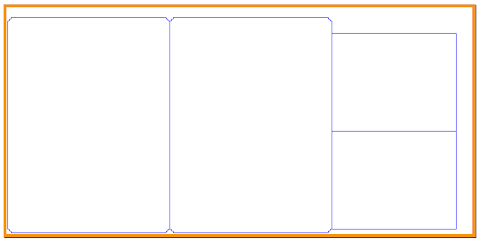
Fortunately the front and back door panels fit within the P3 material size although there’s quite a bit of wastage left over so I’ve cut some extra panels out (which I’ll come back to later in this post). Here’s the cut file (again with lines fattened up):
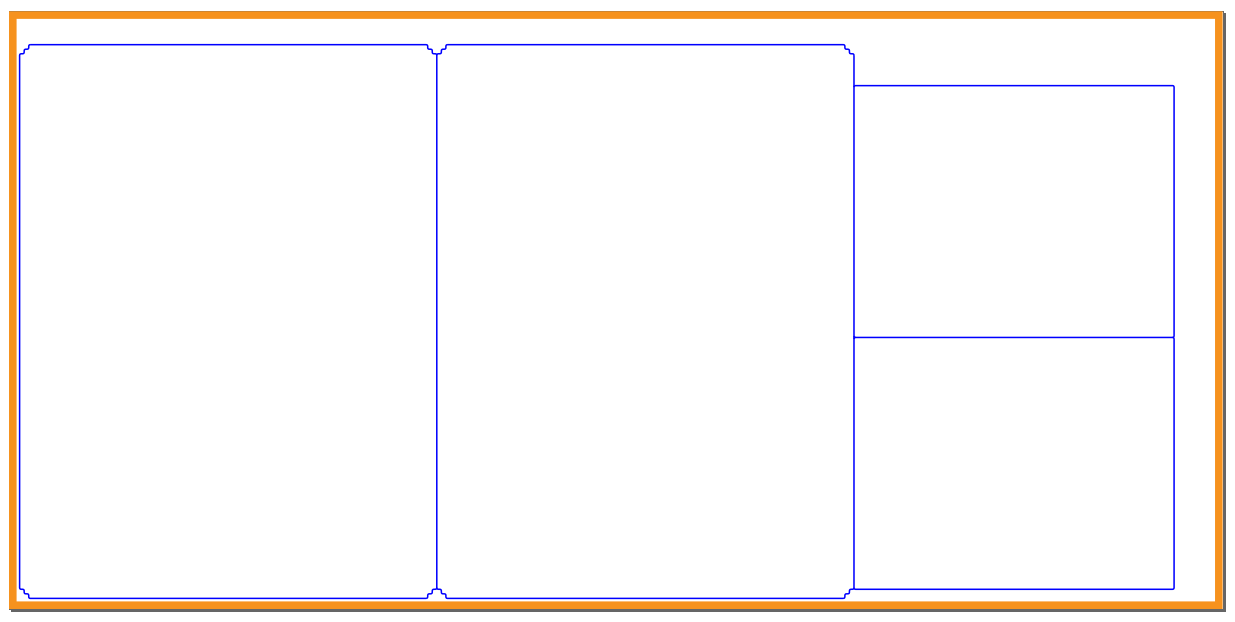
The main panels above have a bit of a perculiarity on the corners due to the corner brackets of the aluminium frame eating into the groove the panel sits in. Close up it looks like this:

The other two smaller panels on this cut file don’t need this ’toothed’ edge and so have simple rounded corners. You may have noticed everything in this cut file has small rounded corners and that’s because acrylic doesn’t suffer sharp corners well and can crack if placed under stress — the round corners help spread the stresses around a bit.
For the sides of the enclosure there’s one final cut file designed for the P2 size:
Oo - what’s that at the bottom ;) Well, again, the panel sides didn’t quite use enough of the P2 material so I cut some ’extra’ bits. This and the 2 extra bits from the P3 cut go in to the next ‘phase’ of the enclosure. Normally I wouldn’t want to commit to making something until I’ve got the design to a reasonable stage but it was better to cut something and throw it away than to receive a useless piece of acrylic. Now, this bit is still very much in the design stage but here’s what I’ve got in SketchUp so far:
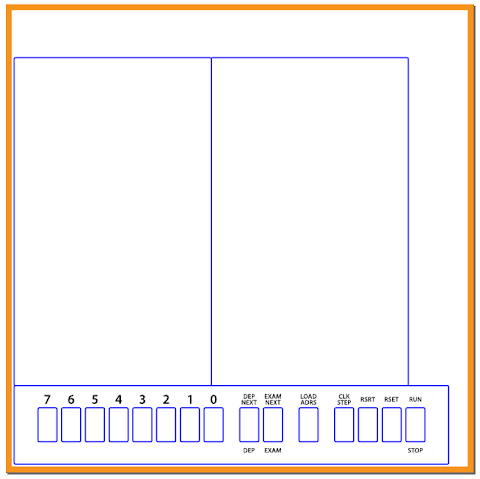
The additional cut panels from the P3 will go in the sides of the upper enclosure (assuming it stays the same size) and the extra from the P2 cut is for the main switch panel … here’s a close up of the cut:

… and a close up of the panel in the rendering …

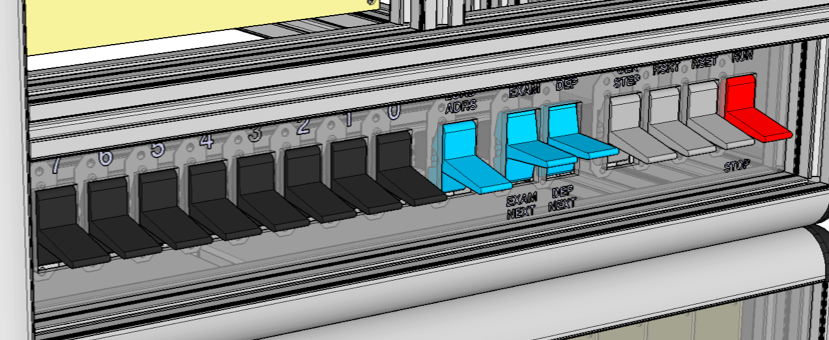
The eagle eyed out there may notice the rendering and cut have the right hand switches out of order and the labelling is slightly different … this is due to my last minute design changes before ordering the cut. This main switch panel will always be visible even when the doors are closed and is the main method of controlling the computer. I’ll run through what each of these switches does at a later point (unless anyone really, really wants to know now of course ;) but in the meanwhile here’s a picture of said switches:
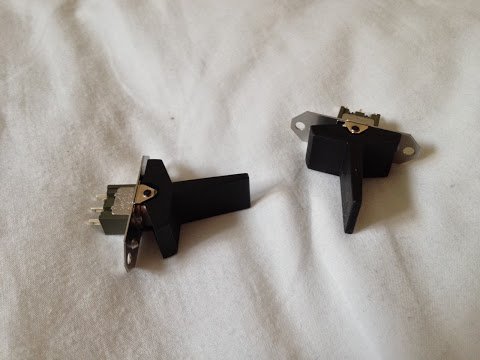
… and really nice chunky things they are too with a great click sound and feel. For anyone who’s curious these are the (catchily titled) M2012TNW01-HA by NKK switches. One last thing about the top enclosure … there’s two boards immediately above the switch panel … these are for … actually … I’ll save that for another time ;P
Anyho, that’s enough for now. The material has been reserved for my order and it’s now ready to be cut so hopefully within the next week or so I should be able to post pictures of all the cut panels and show them fitted to the enclosure. Incidentally although it probably looks like I’m taking a bit of a short break from the internals of the computer to indulge myself in the enclosure I’ve been busy putting the AD and BC register schematics together so I’ll no doubt post about them in the not too distant future.