Fear not (just in case you were for some reason) all this talk of Sketchup and enclosures and so on hasn’t totally diverted me from the main task of constructing the ALU. The wire wrap is coming along nicely on the arithmetic card although it has taken slightly more concentration than before to get all the wraps in the right places.
Here’s a couple of pictures showing the card in its current state of progress:

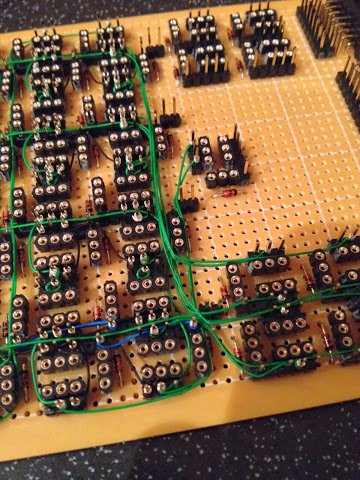
All the ‘internal’ links (black wires) in each 1-bit arithmetic unit are complete along with the display links (also black wires) that run from each unit to the LEDs on the front. All the green wiring is also complete which runs the internal results between each 1-bit arithmetic unit and on to the gating relays at the top right of the board.
The next links to be wired in will be:
- Red power lines supplying each 1-bit unit
- Blue input B and C lines (with input B permanently connected but input C routed through gating relays at the top left of the board)
- Blue result lines from the gating relays at the top right of the board out to the data bus connector
- Yellow control lines which select either the Add or Increment operation (where the increment operation disconnects input C and sets the carry in bit)
Although it probably doesn’t sound it there’s a fair bit of wiring there so I’ll tackle it over a couple of evenings. My next post will probably be some more about the enclosure … I’ve had some laser cut acrylic made up and combining this with some EL wire should make quite a nice effect.