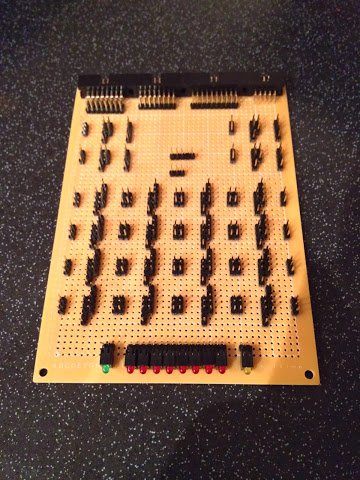
Following on from the successful construction of the ALU logic card in my last post it’s time to start off the new year with the next ALU card (number 2 of 3 ALU cards in total) … the arithmetic card. As for the logic card I’ll begin by soldering down all the header pins that will be wire wrapped to later on (the LEDs and connectors were already added to this card earlier).
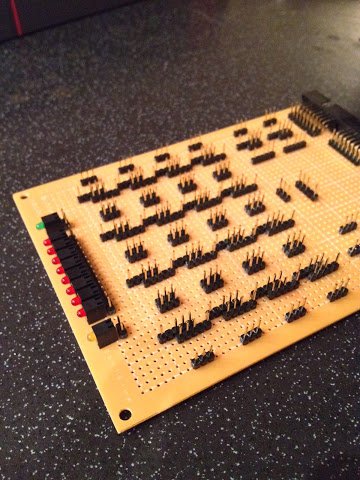
The construction method is pretty much the same as was used on the logic card although one oddity with this card is that the relays are placed in an offset back-to-back pattern to make some of the later wiring line up better. I soldered enough of these down on the logic card to get reasonably good at it and for the headers that don’t sit still I’ve settled on soldering down one pin then adjusting (by re-melting the joint up and moving the header) and then finally soldering the rest of the pins.
Here’s the result of this evenings work:
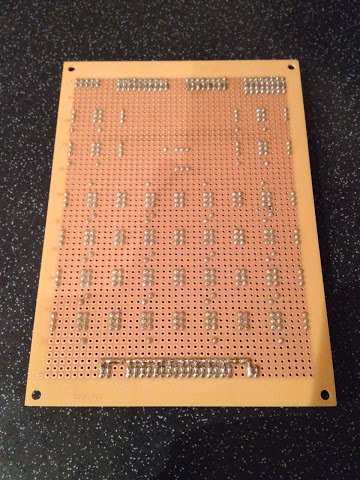
The next job … which isn’t all that much fun based on doing it on the logic card … will be to solder down all the sockets for the relays. There’s 3 x 3 pin sockets required for each relay and at 41 relays in total for this card that’s a total of 123 sockets to solder … might leave that until later in the week.