So, although I probably should construct the logic card methodically a full stage at a time (solder header pins then sockets then wire wrap) I can’t resist fully assembling a single bit alone to see if/how it works. Here of some pictures of that single bit all soldered in and wired up:
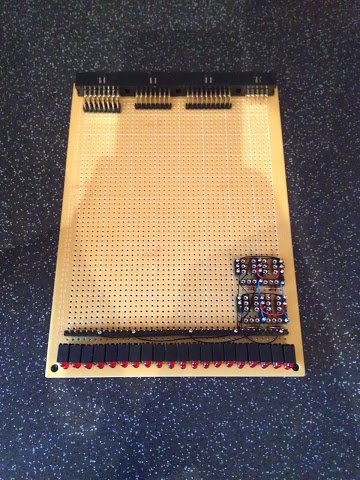
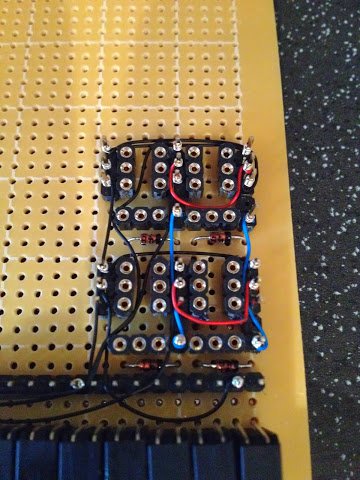
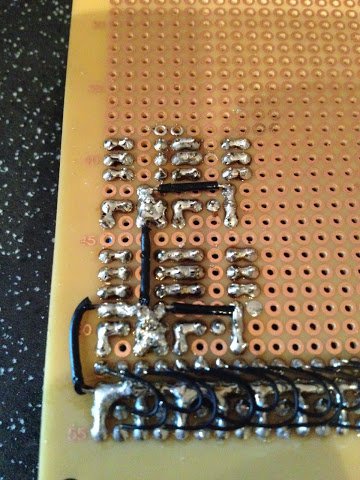
This is the first bit logic unit out of 8 in total and effectively the pattern is repeated 4 times across the board and for 2 rows up the board. One thing I was definitely reminded of when putting this first bit together is how small components on a 0.1 inch pitch actually are and it really is quite fiddly work. Again, the soldering is a bit grizzly where I’ve joined several pads together and couldn’t keep the heat up and solder flowing.
Before powering this new circuitry up I did some spot checking with a multimeter and straight away found some mis-wired connections … although being as I chose to use wire wrap it’s trivial to correct mistakes. With everything then looking good it was time to stick in some relays and apply the power:
All working as expected! This actually represents a bit of a mini-milestone in the construction and it’s really nice to see something physical emerging from all the drawings and designs. There’s a long way to go to finish this card off (and even further to finish the computer in general) but seeing some success along the way has given me the little lift needed to keep me committed to all the soldering and wire wrapping that’s to come.